
Finding a working auto clicker for Chromebook isn't as straightforward as on Windows. Popular programs like OP Auto Clicker and GS Auto Clicker won't run on ChromeOS because they're .exe files designed for Windows systems.
But here's the thing – there are actually three reliable methods that do work on Chromebooks, and they're simpler than you might expect.
Whether you need automated clicking for games, repetitive tasks, or accessibility purposes, this guide covers every working solution. We'll show you the built-in ChromeOS auto clicker, browser extensions that run directly in Chrome, and Android apps for supported devices.
Each method has its strengths, and we'll help you pick the right one for your needs. Let's dive in.
Why Most Auto Clickers Don't Work on Chromebooks
The .exe File Problem
The biggest reason most auto clickers fail on Chromebooks comes down to file compatibility. Windows auto clickers like OP Auto Clicker, GS Auto Clicker, and Speed Auto Clicker are all .exe files that rely on Windows system files and libraries to function.
Chromebooks run ChromeOS, which is based on Linux, not Windows. When you try to download and run a .exe file on a Chromebook, nothing happens because ChromeOS simply doesn't know how to execute Windows programs. It's like trying to play a DVD in a CD player – the formats are completely incompatible.
Even if you manage to download the .exe file to your Chromebook's Downloads folder, double-clicking it won't launch the program. There's no Windows operating system underneath to make it work.
ChromeOS Software Limitations
ChromeOS was designed with a different philosophy than traditional desktop operating systems. Google built it to be lightweight, secure, and primarily web-based. This means ChromeOS intentionally restricts what types of software can run on the system.
The operating system focuses on web applications, Chrome extensions, and Android apps rather than traditional desktop programs. While this design makes Chromebooks faster and more secure, it also means you can't simply install any software you want as you would on Windows or Mac.
This isn't necessarily a limitation – it's a design choice that keeps Chromebooks running smoothly and protects users from malware. However, it does mean you need different approaches to get auto clicking functionality working on your device.
3 Working Auto Clicker Methods for Chromebook
Method 1: ChromeOS Built-in Auto Clicker
How to Enable Built-in Auto Clicking
ChromeOS includes a built-in auto clicker feature that most users don't know about. It's located in the accessibility settings and works without installing any additional software on your Chromebook.
This auto clicker was originally designed as an accessibility feature for users with motor impairments, but it works for anyone who needs automated clicking functionality. Since it's part of ChromeOS itself, there are no compatibility issues or security concerns.
Step-by-Step Setup Process
Here's how to enable the built-in auto clicker:
- Click the time in the bottom-right corner of your screen (or press Alt + Shift + S)
- Select the Settings gear icon
- In the left sidebar, click "Accessibility"
- Select "Cursor and touchpad"
- Toggle on "Automatically click when the mouse cursor stops"
- Choose your preferred delay time from the dropdown menu
Once enabled, your cursor will automatically perform the selected action when it stops moving for the specified delay time.
Pros and Cons of Built-in Auto Clicker
Advantages:
- Completely safe and officially supported by Google
- No downloads or installations required
- Works on every Chromebook model
- Multiple click types available (left, right, double-click, scroll)
- Zero security risks since it's a built-in feature
Limitations:
- Only performs one click per cursor stop - you must move the cursor to click again
- No continuous or rapid clicking capability
- Maximum speed is limited by the 0.6-second minimum delay
- Can't target specific screen coordinates
- Not suitable for games requiring rapid, repeated clicking
The built-in auto clicker is perfect for accessibility needs and basic automation tasks, but won't work for gaming or applications requiring fast, continuous clicking.
Method 2: Browser Extensions
Why Browser Extensions Work Best
Browser extensions are the most versatile auto clicker solution for Chromebook users. Unlike Windows .exe files, Chrome extensions run directly in your browser without compatibility issues. They work across all Chromebook models and offer much more control than the built-in auto clicker.
Extensions can perform continuous rapid clicking, target specific screen areas, and work with any website or web application. Since most Chromebook activities happen in the browser anyway, this makes extensions the ideal choice for most users.
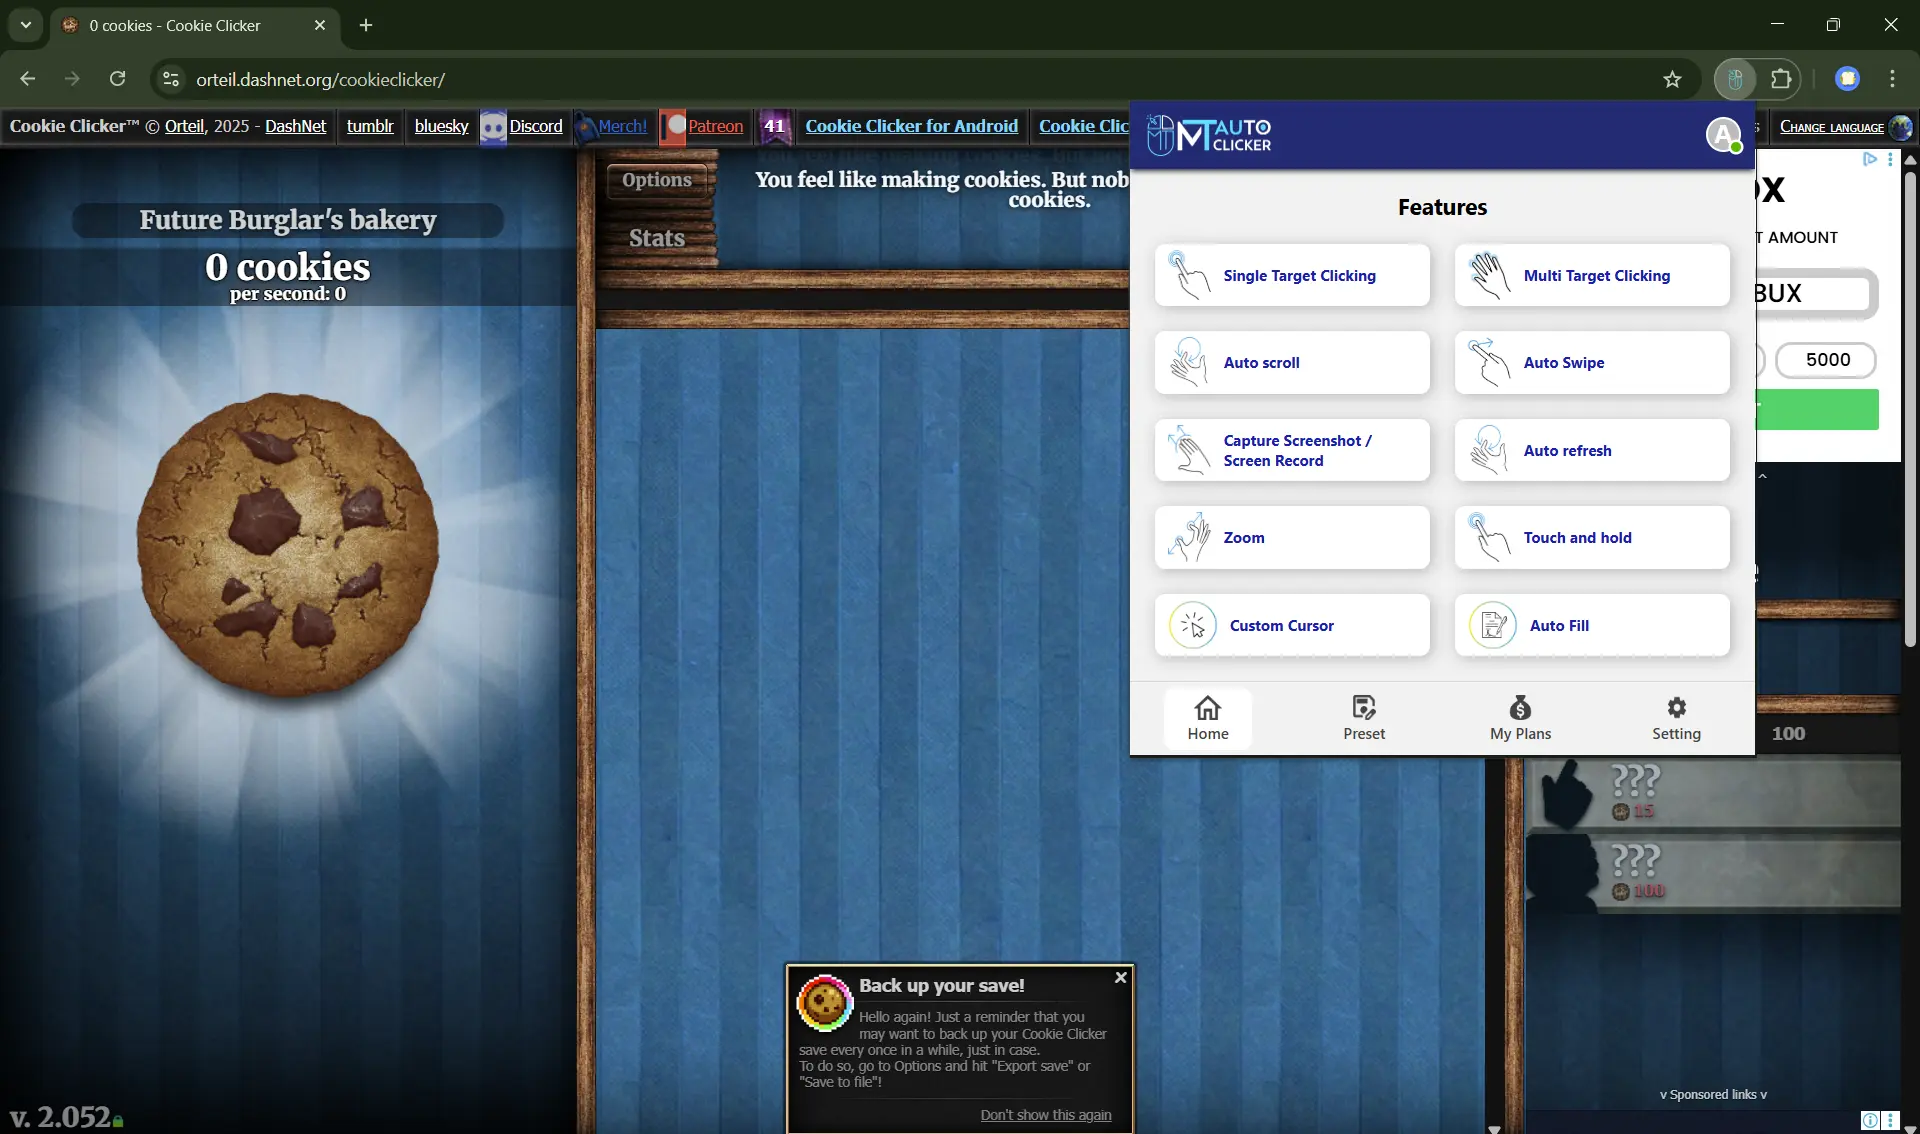
Installing MT Auto Clicker Extension
MT Auto Clicker is available as a Chrome extension, making it perfect for Chromebook users:
- Open Chrome and go to the Chrome Web Store
- Search for MT Auto Clicker on Chrome Web Store
- Click "Add to Chrome" then "Add extension"
- The MT Auto Clicker icon will appear in your toolbar
- Pin the extension for easy access by clicking the puzzle icon
Basic Setup and Features
Once installed, MT Auto Clicker offers:
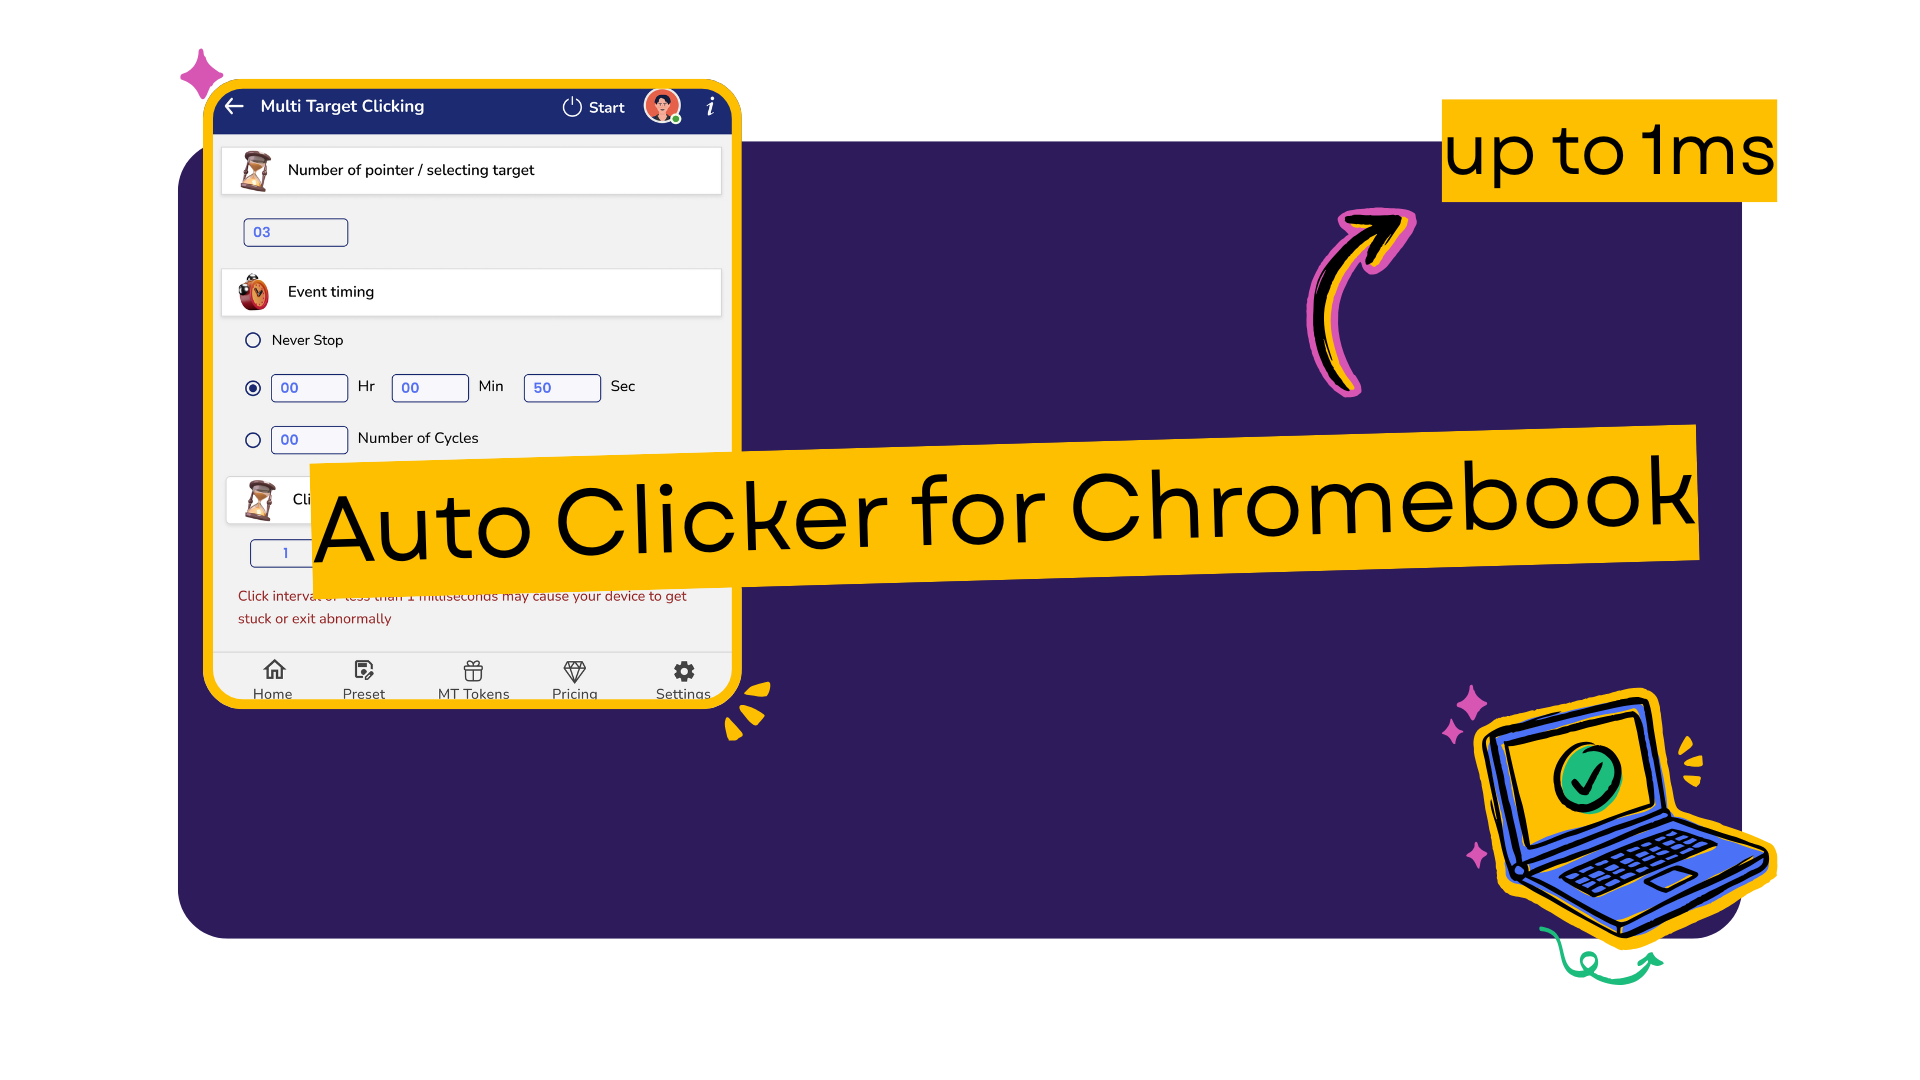
- Precision clicking: Set clicks at precise 1ms intervals for maximum speed
- Custom hotkeys: Keyboard shortcuts to start and stop without touching the mouse
- Flexible timing: Configure duration with Never Stop, timed intervals, or specific cycle counts
For complete step-by-step instructions on installation, configuration, and advanced features, visit our detailed MT Auto Clicker extension guide.
Why MT Auto Clicker Works Well on Chromebook
MT Auto Clicker Extension is specifically designed to work seamlessly with Chrome browsers, making it the ideal auto clicker for Chromebook users. It requires no special permissions beyond basic extension access and runs efficiently without slowing down your device.
Method 3: Android Auto Clicker Apps
Many modern Chromebooks support Android apps through the Google Play Store, giving you access to mobile auto clicker applications. However, not all Chromebook models have this feature enabled, so you'll need to verify compatibility first.
Android apps can offer different features than browser extensions and work outside of Chrome, making them useful for specific automation tasks on your Chromebook.
Check Compatibility and Install
Many modern Chromebooks support Android apps through the Google Play Store. Here's how to check if your device supports it and install an auto clicker app:
- Open Settings on your Chromebook
- Look for "Apps" in the left sidebar
- If you see "Google Play Store," your device supports Android apps - proceed to step 5
- If not present, check Settings → Device → "Turn on" Google Play Store and follow the setup
- Open the Google Play Store from your app launcher
- Search for "auto clicker" in the search bar
- Choose an app with good ratings and recent updates
- Tap "Install" and grant necessary permissions when prompted
Available Android Auto Clickers
Popular options include Auto Clicker - Automatic Tap and Click Assistant. MT Auto Clicker is also available as an Android app for users who prefer cross-platform consistency.
Android App Limitations on Chromebook
Android apps come with several limitations on Chromebooks:
- Performance issues: May run slower than browser extensions
- Interface problems: Mobile apps aren't optimized for laptop screens
- Compatibility gaps: Not all Android apps work on every Chromebook model
- Touch vs. mouse input: Apps designed for touch may not work well with trackpad input
Android auto clicker apps work best as a backup option when browser extensions don't meet your specific needs.
Using Auto Clicker for Cookie Clicker on Chromebook
Cookie Clicker is one of the most popular browser games that works perfectly with auto clickers on Chromebooks. Since it's a web-based game, it runs smoothly in Chrome and pairs excellently with the MT Auto Clicker extension.
Here's how to set up MT Auto Clicker for Cookie Clicker:
Step 1: Open Cookie Clicker and MT Auto Clicker
- Navigate to Cookie Clicker in your Chrome browser
- Click the MT Auto Clicker extension icon in your toolbar
- Select "Single Target Clicking" for cookie clicking
Step 2: Configure Event Timing
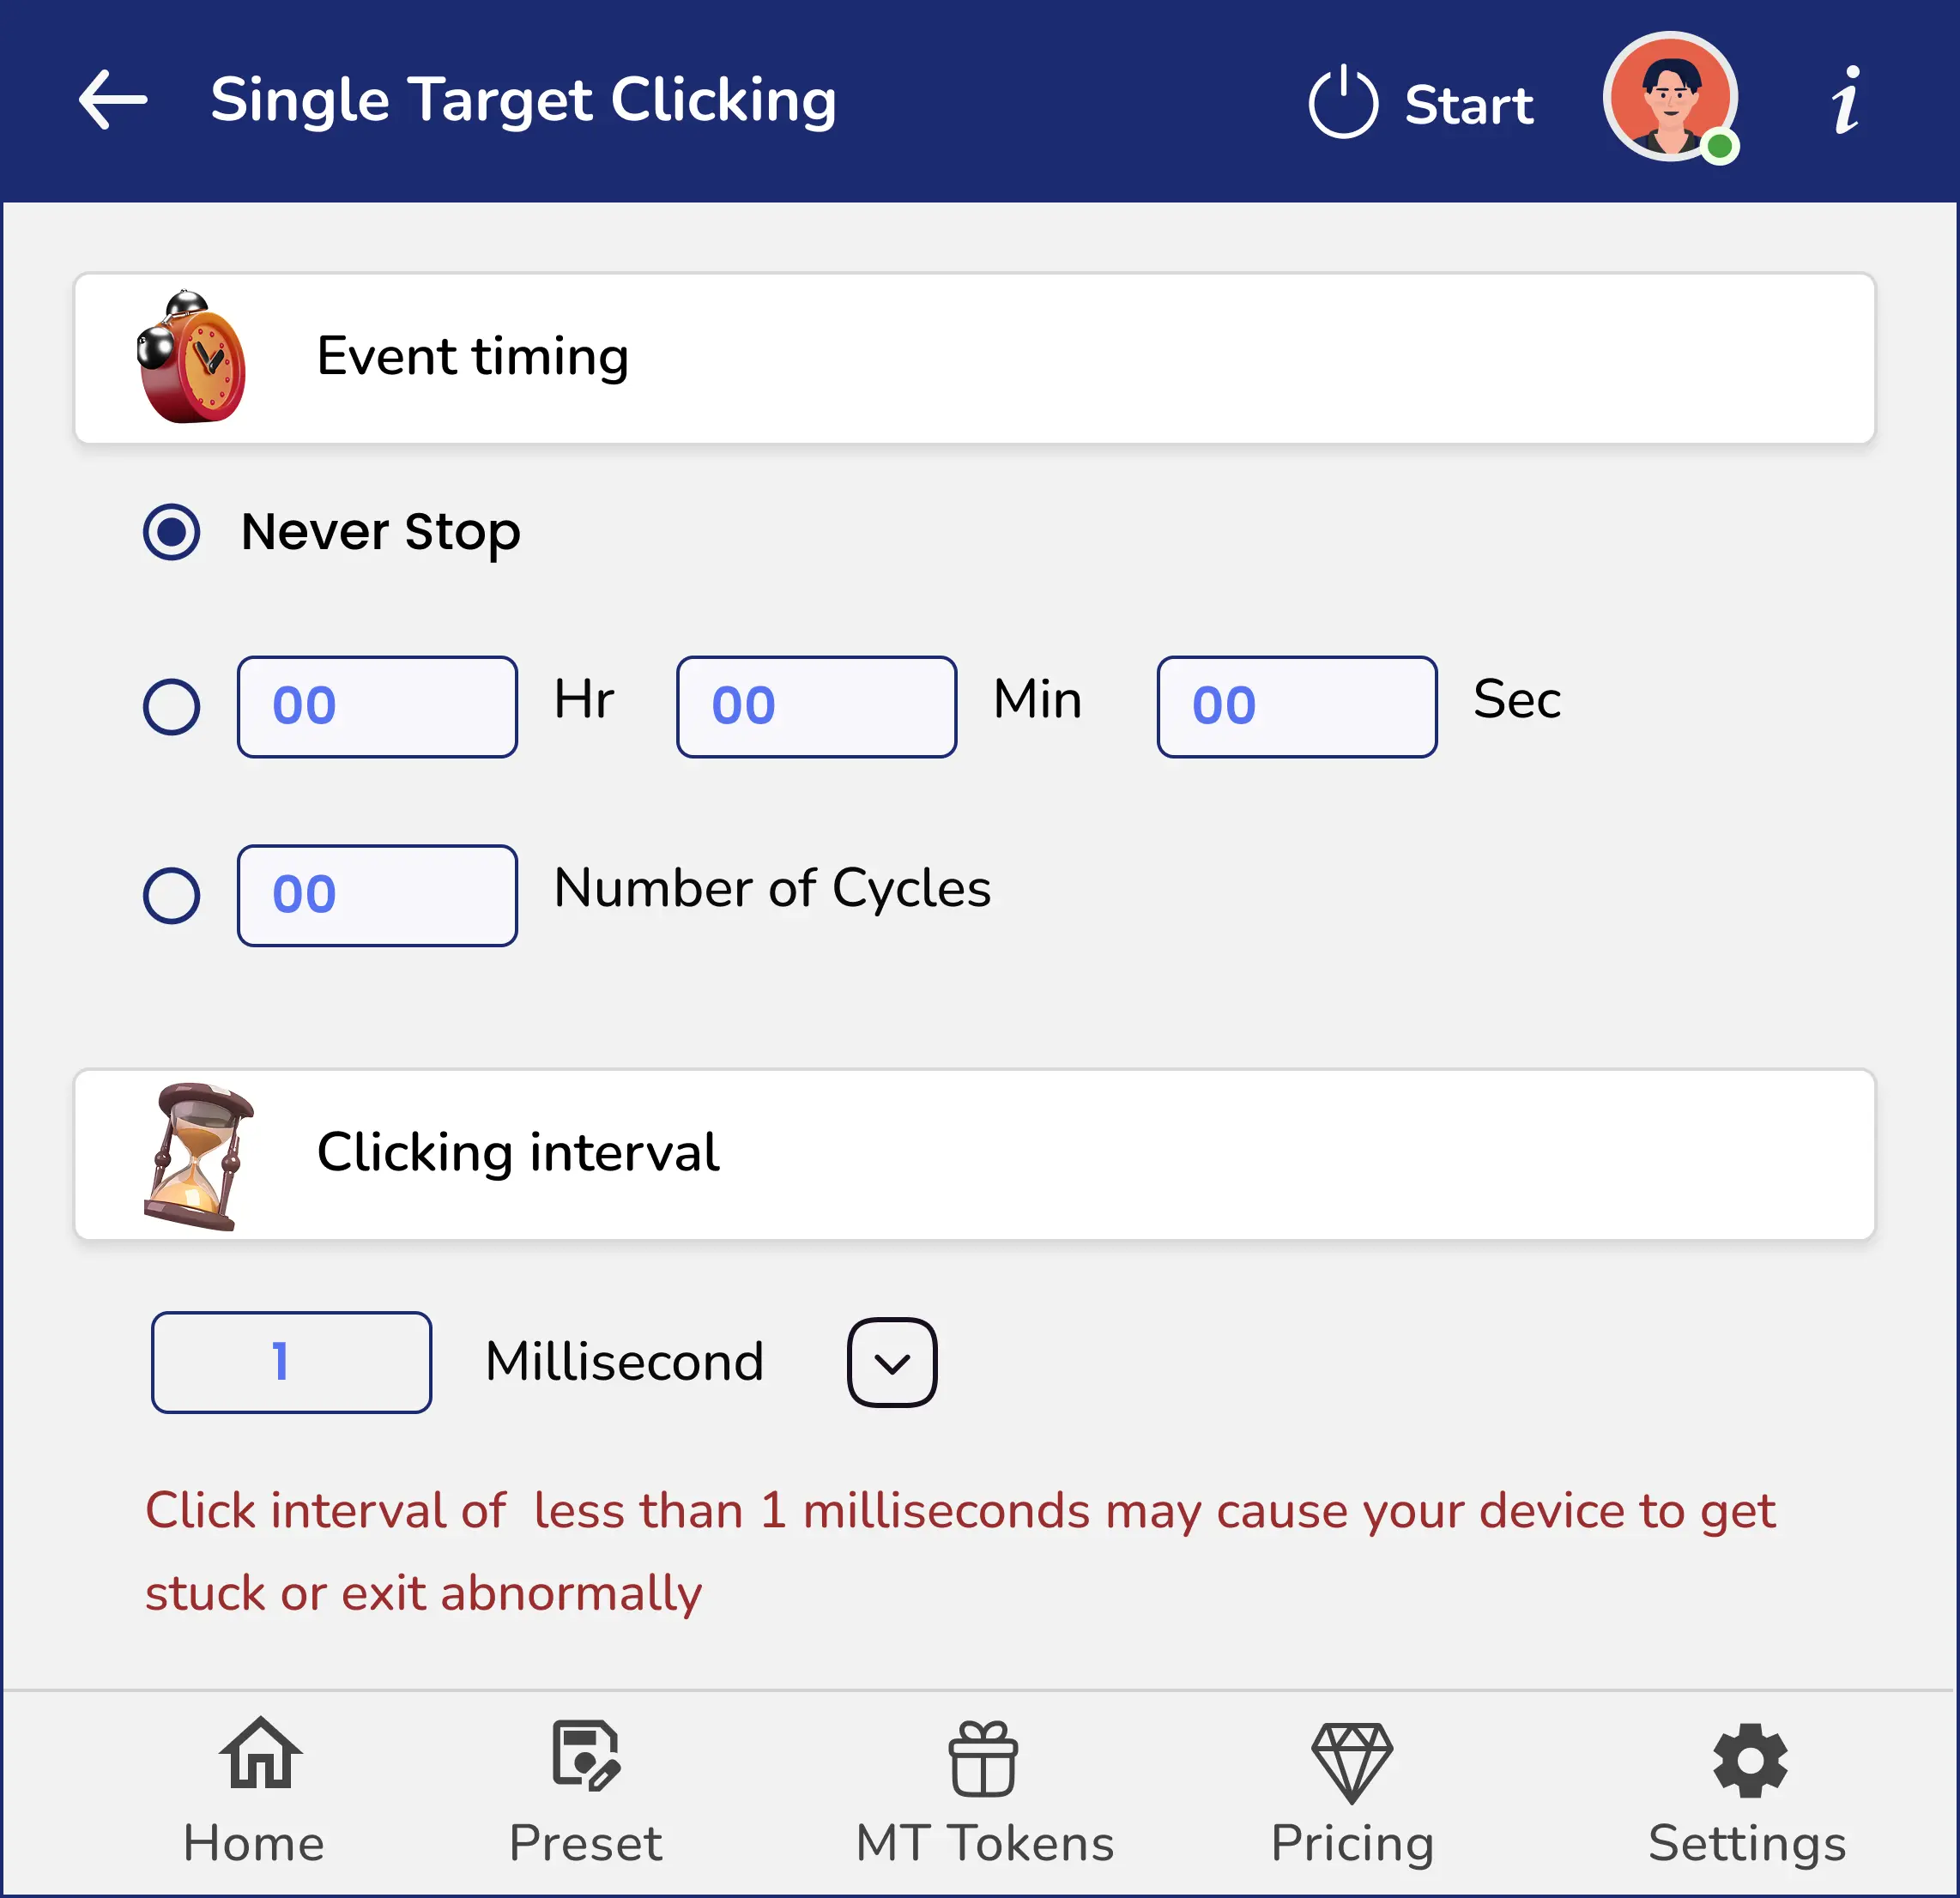
Choose your preferred timing option:
- Never Stop: For continuous idle gameplay
- Time Duration: Set specific play sessions (e.g., 01:00:00 for 1 hour)
- Number of Cycles: Set exact click count if needed
Step 3: Set Click Speed Enter your desired interval:
- 300-500 ms: Recommended for Cookie Clicker (2-3 clicks per second)
- 1 ms: Maximum speed available (use with caution)
- Avoid going below 100ms for regular gameplay to prevent browser lag
Step 4: Start and Position
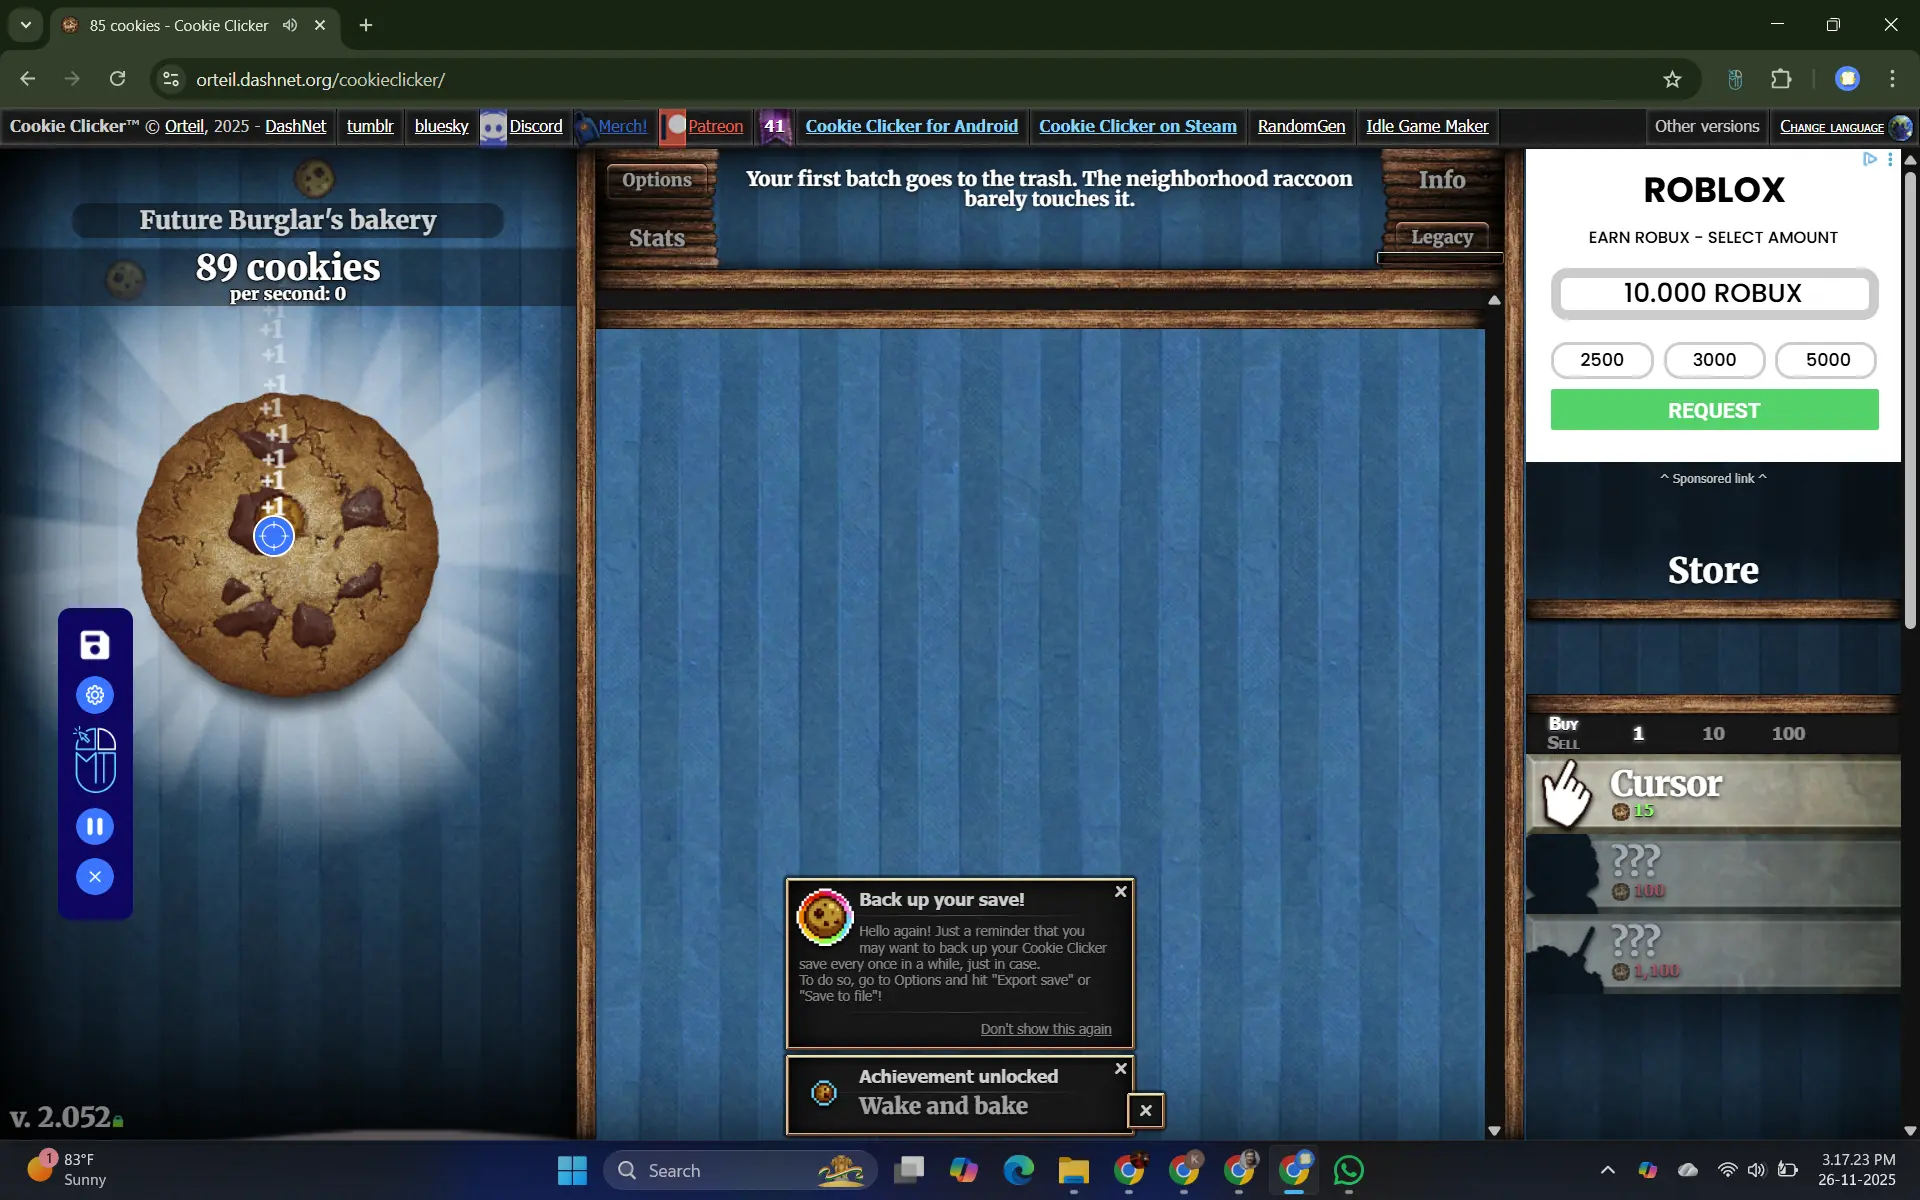
- Click "START" in MT Auto Clicker
- A blue pointer will appear on your screen
- Position the blue pointer directly on the large cookie & click on Play
- The auto clicker will begin clicking automatically
Step 5: Monitor and Manage
Use the MT Control Bar to:
- Pause when purchasing upgrades
- Adjust settings without restarting
- Save your configuration for future sessions
This setup allows you to generate cookies automatically while focusing on strategy, upgrades, and progression in Cookie Clicker.
Conclusion
Finding a working auto clicker for Chromebook is easier than you think. While Windows .exe programs won't work on ChromeOS, you have three reliable options: the built-in accessibility feature, browser extensions, and Android apps.
For most users, browser extensions like MT Auto Clicker offer the best solution with precise 1ms intervals and easy setup. The built-in option works for basic tasks, while Android apps serve as a backup for compatible devices.
Whether you're playing Cookie Clicker or automating repetitive tasks, these methods will get auto clicking working on your Chromebook quickly and reliably.